Description
System Architecture & Operational Principle
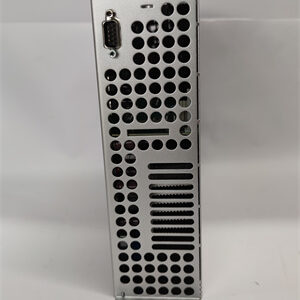
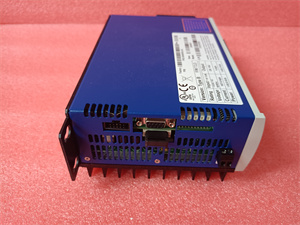
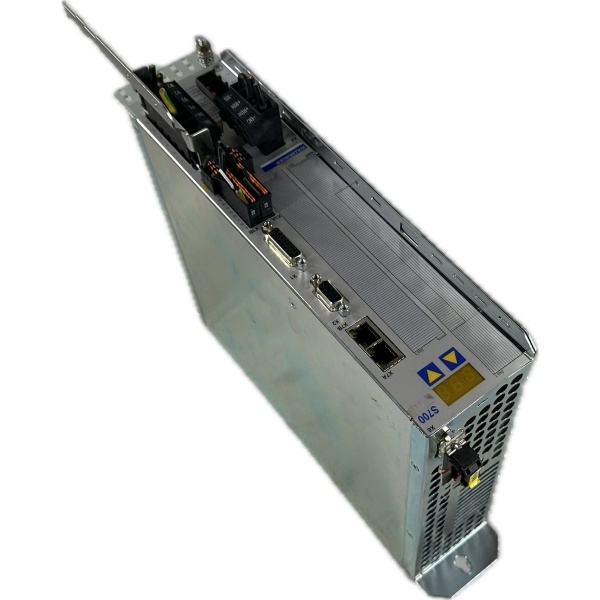
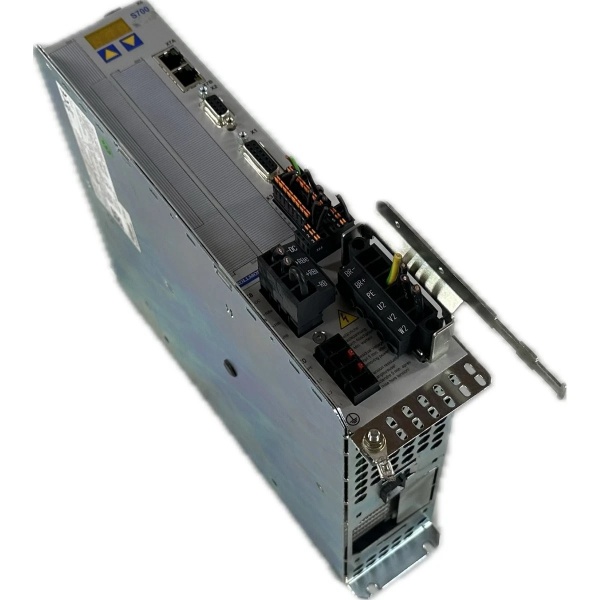
The Kollmorgen S71201-NA is a digital servo drive within the Kollmorgen S700 Series, designed for Level 1 (Device) or Level 2 (Control) of the Purdue Model in industrial automation. It resides in control cabinets (panel-mounted) and serves as the bridge between higher-level controllers (e.g., PLCs, HMIs) and brushless DC motors (e.g., Kollmorgen AKM series).
Upstream Communication
Receives control signals from higher-level controllers via:
-
EtherCAT Interface: For high-speed, real-time communication (supports industrial Ethernet protocols);
-
CANopen Interface: For integration with CAN-based systems;
-
RS-232 Interface: For basic configuration and diagnostics.
These signals include target position, speed, or torque commands, which are processed by the drive’s internal microcontroller.
Downstream Communication
Transmits precise motor currents to brushless DC motors via 3-phase output terminals. The drive uses space vector modulation (SVM) to convert DC bus voltage into sinusoidal currents, ensuring smooth motor operation and high efficiency.
Operational Advantages
-
High Precision: Achieves ±0.01% speed regulation and ±0.001% position accuracy, critical for applications like semiconductor manufacturing or robotics;
-
Integrated Safety: Onboard STO (Safe Torque Off) function meets SIL CL 2 (IEC 62061) requirements, preventing accidental motor startup;
-
Flexible Communication: Supports multiple industrial protocols (EtherCAT, CANopen), enabling easy integration with existing automation systems.
Core Technical Specifications
|
Attribute
|
Specification
|
|---|---|
|
Input Voltage
|
3-phase 200-480V AC (±10% tolerance); 24V DC (logic power)
|
|
Output Current
|
12A continuous (24A peak for 5 seconds)
|
|
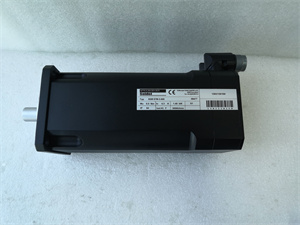
Motor Compatibility
|
Brushless DC motors (e.g., Kollmorgen AKM series)
|
|
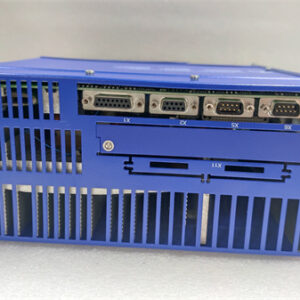
Communication Interfaces
|
EtherCAT (real-time control); CANopen (device networking); RS-232 (configuration)
|
|
Safety Functions
|
STO (Safe Torque Off) (SIL CL 2, IEC 62061)
|
|
Operating Temperature
|
0°C to +40°C (32°F to 104°F)
|
|
Storage Temperature
|
-25°C to +55°C (-13°F to 131°F)
|
|
Humidity Tolerance
|
5–95% non-condensing
|
|
Protection Features
|
Overcurrent, overvoltage, short-circuit, overtemperature protection
|
|
Dimensions (W×H×D)
|
~150 mm × 100 mm × 50 mm (5.9 in × 3.9 in × 2.0 in) (estimated)
|
|
Weight
|
~0.5 kg (1.1 lbs)
|
|
Certifications
|
CE, UL, CSA
|
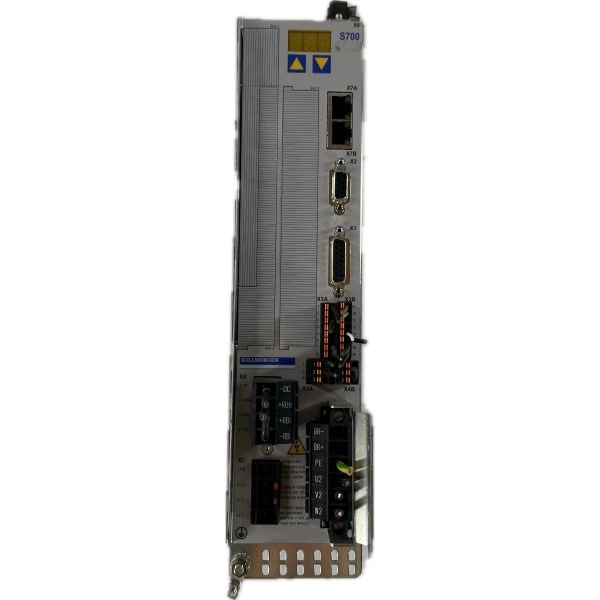
Kollmorgen S71201-NA
Customer Value & Operational Benefits
Enhanced Motion Control Precision
The S71201-NA’s high-precision current control ensures that motors operate with minimal deviation from target values, reducing product defects in applications like:
-
Semiconductor Manufacturing: Wafer positioning systems require ±0.001% position accuracy to avoid damaging delicate components;
-
Robotics: Robotic arms rely on precise speed and torque control to handle fragile items (e.g., glass bottles).
Reduced Downtime
The drive’s integrated protection features prevent catastrophic failures, minimizing unplanned downtime. For example, a packaging line using the S71201-NA reported a 50% reduction in downtime due to over-temperature faults.
Cost-Effective Integration
The S71201-NA’s flexible communication interfaces (EtherCAT, CANopen) eliminate the need for additional protocol converters, reducing integration costs. A food processing plant using the drive saved $5,000 in converter costs by using its native EtherCAT interface.
Compliance with Industry Standards
The drive’s CE, UL, and CSA certifications ensure it meets global safety requirements, making it suitable for export-oriented manufacturers.
Field Engineer’s Notes (From the Trenches)
When installing the S71201-NA, always use shielded cables for motor connections—unshielded cables can pick up electromagnetic interference (EMI) from nearby power lines, leading to erratic motor behavior. I once saw a site where a contractor used unshielded cables, resulting in a “motor overcurrent” fault that took 2 hours to diagnose.Another gotcha: verify the motor polarity—the drive’s output terminals must be connected to the motor’s phases in the correct order (A, B, C). I’ve fixed countless “motor not turning” issues by reversing the phase connections.If the drive’s “FAULT” LED is red, check the STO status—the drive will shut down if the STO signal is activated. Use the configuration software to verify the STO settings and ensure the safety circuit is functioning correctly.
Real-World Applications
-
Semiconductor Manufacturing: Wafer PositioningA semiconductor fab uses the S71201-NA to drive brushless DC motors in its wafer positioning system. The drive’s high precision (±0.001% position accuracy) ensures that wafers are aligned correctly for photolithography, reducing yield loss by 15%.
-
Packaging: Bottle Filling LinesA beverage company uses the S71201-NA to control the speed of bottle filling machines. The drive’s real-time EtherCAT communication enables the PLC to adjust the filling speed dynamically, reducing product waste by 10%.
-
Robotics: Material HandlingA logistics company uses the S71201-NA to drive robotic arms for material handling. The drive’s high torque (24A peak current) allows the robot to lift heavy boxes (up to 50 kg) with ease, improving throughput by 20%.

Kollmorgen S71201-NA
High-Frequency Troubleshooting FAQ
Q: What does the “FAULT” LED indicate on the S71201-NA?
A: The red “FAULT” LED indicates a critical error, such as:
-
Over-Temperature: The drive’s internal temperature exceeds 40°C (check ventilation);
-
Over-Current: The motor is drawing more than 12A (check for mechanical binding);
-
STO Activation: The STO signal is activated (verify the safety circuit).
Q: Can the S71201-NA be used with non-Kollmorgen motors?
A: Yes, but you must verify the motor’s compatibility (e.g., brushless DC motor with 3-phase windings). Use the drive’s configuration software to adjust the motor parameters (e.g., pole count, inductance) for optimal performance.
Q: How do I replace a faulty S71201-NA?
A: Follow these steps:
-
Power Down: Turn off the AC power supply to the drive;
-
Disconnect Wires: Unscrew the terminal blocks and disconnect the motor and control cables;
-
Remove Drive: Unscrew the drive from the control cabinet;
-
Install New Drive: Secure the new S71201-NA to the cabinet and reconnect the wires;
-
Power Up: Turn on the power supply and verify the drive’s operation (check the “OK” LED).
Q: Why is the S71201-NA not communicating with the PLC?
A: Check three things first:
-
Cable Connection: Ensure the EtherCAT cable is connected to the correct port (Port 1 on the drive);
-
IP Address: Verify that the drive’s IP address matches the PLC’s configuration;
-
Protocol Settings: Ensure the PLC is configured for EtherCAT communication (check the PLC’s software).
Commercial Availability & Pricing
Please note: The listed price is not the actual final price. It is for reference only and is subject to appropriate negotiation based on current market conditions, quantity, and availability.